Appearance
Getting Started with AdventureLog
AdventureLog is a self-hosted travel tracker and planner that helps you document your adventures, plan trips, and visualize your travels around the world.
Creating Your Account
To begin using AdventureLog, you need to create an account on your instance.
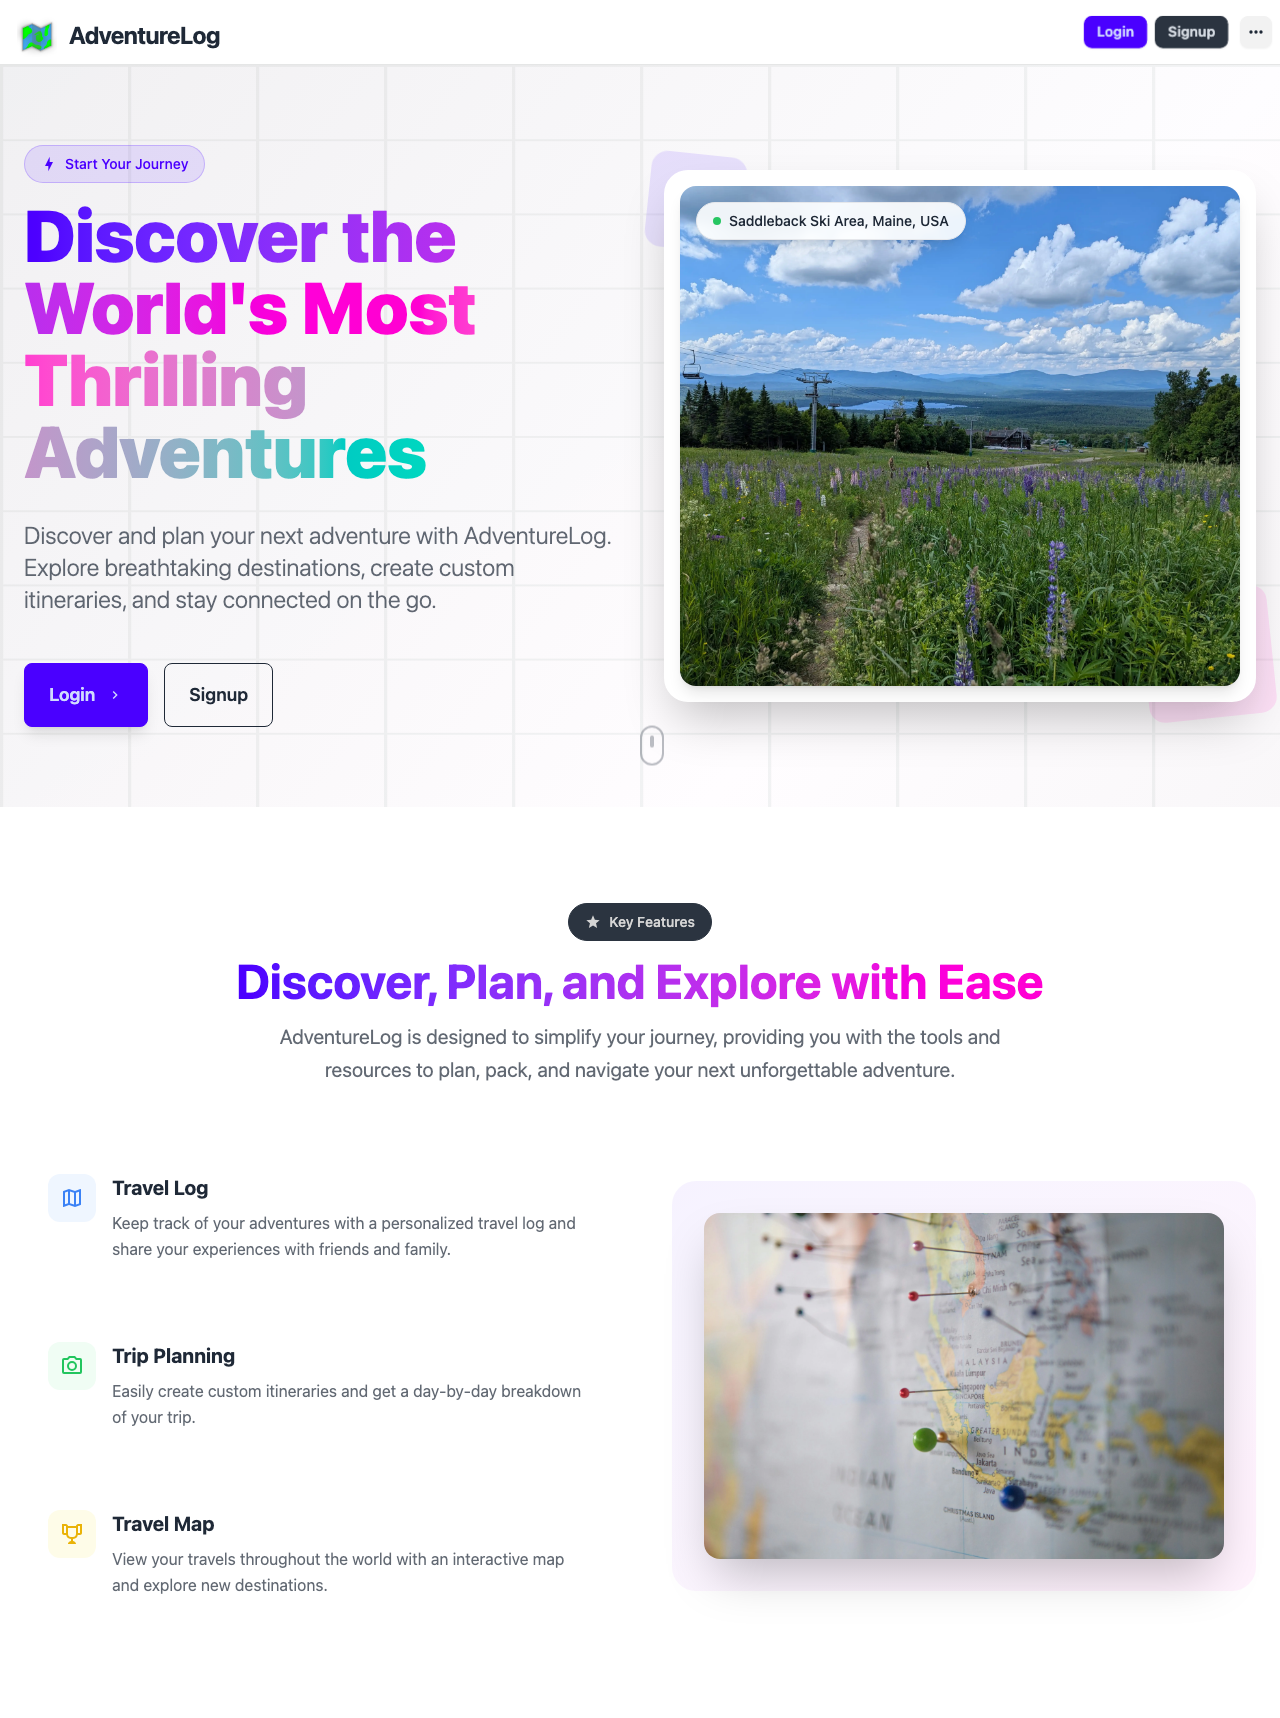
- Open your AdventureLog instance in a web browser
- Click the Signup button [2] in the top navigation bar, or use the prominent Signup button [6] on the landing page
- Fill in your username, email address, and password
- Confirm your password and submit the registration form
If registration is disabled on the instance you are trying to access, contact your instance administrator to have an account created for you.
Logging In
Once you have an account:
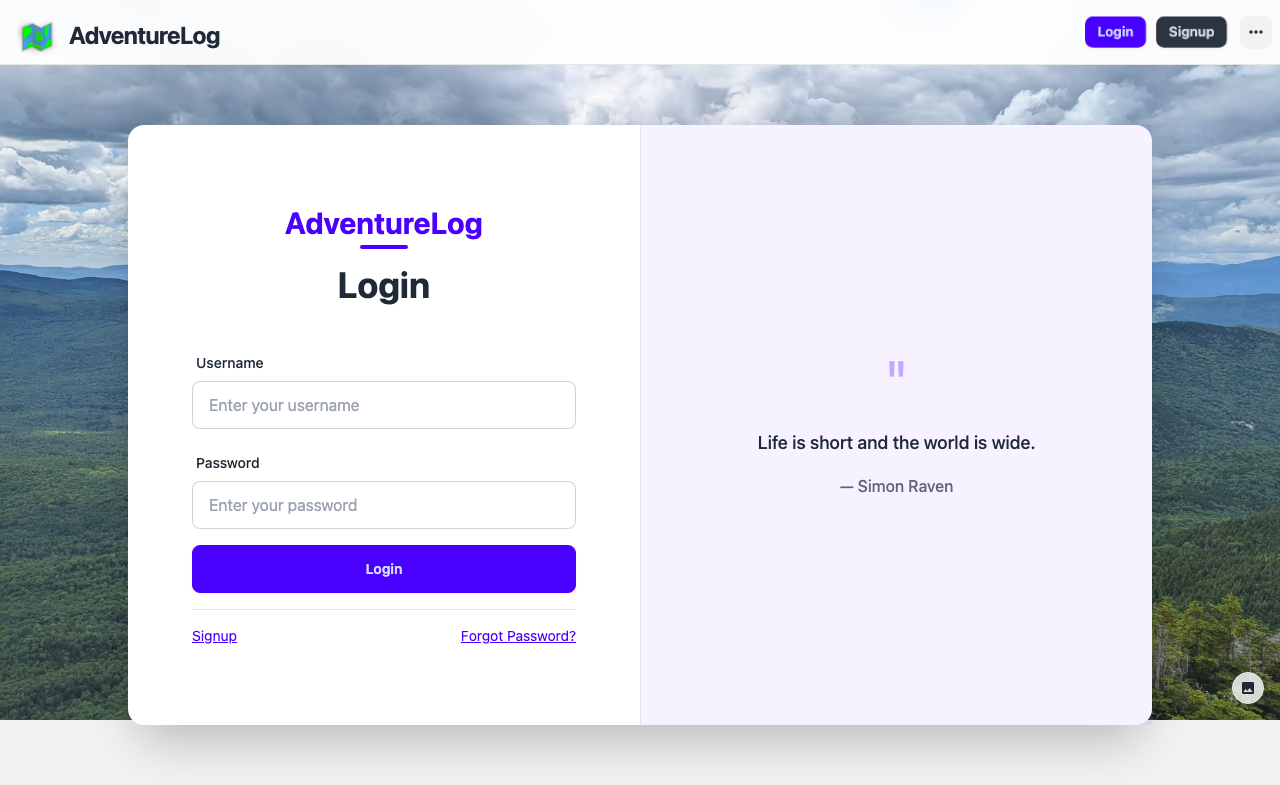
- Navigate to the login page by clicking Login [1] in the navigation bar
- Enter your username or email and password in the login form [3]
- Click the Login button [3] to access your dashboard
If you have forgotten your password, click the Forgot Password? link [5] below the login form to initiate a password reset.
First Steps After Login
After logging in, you will land on your Dashboard, which displays:
- Your travel statistics (countries, regions, and cities visited)
- Recent adventures and locations you have logged
- Quick action buttons to add new locations or explore world travel
From the dashboard, you can navigate to any section of AdventureLog using the navigation bar at the top of the page.
Customizing Your Experience
AdventureLog supports multiple languages and themes. From the sidebar or settings:
- Language: Choose from 20+ supported languages including English, Spanish, French, German, Italian, Chinese, Japanese, Korean, and more
- Theme: Select from visual themes including Light, Dark, Dim, Night, Forest, Aqua, Aesthetic Light, Aesthetic Dark, and Northern Lights
These preferences persist across sessions and can be changed at any time.